- Call us: 01444 237070
- Contact Us
- Stores
- Sign In / Register
-
- Back
- Used Cameras
- Used Lenses
- Used Video
- Used Film Equipment
- Used Stock Alert
- Used Accessories
- Recently Added Used Equipment
- Used Clearance
- Faulty
- Park Picks
- Sell or Part Exchange
- Trade-In
- Blog
- New in
- Call us
- Contact us
- Stores
- Sign in
- Categories
- Tips & Inspiration
- Reviews
- News
- Events
- Features
- Buying Guides
- Competitions
How to Photograph The 2017 Perseid Meteor Shower
The 2017 Perseid Meteor shower will be visible from 17th July 2017 to 24th August 2017, and will be at its peak on the night of 12th August to the early hours of 13th August. Photographers in the UK will be in prime position to catch this popular astronomical event as the Northern Hemisphere will see the best show from the Perseid Meteor Shower this year.
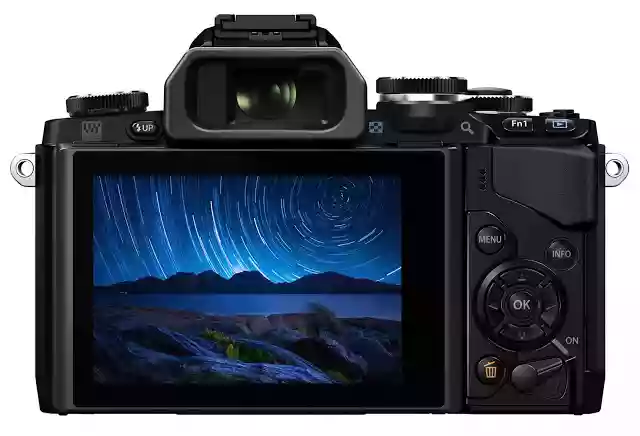
The Perseid Meteor Shower is so called because meteors seem to emanate from the Perseus constellation in the night sky, but the meteors are in fact tiny fragments of debris from space left over from the tail of Comet Swift-Tuttle (called meteoroids) and light up as they enter the earths atmosphere and vaporise, causing the air around them to heat up and cause the streak of light we know so well.
The best conditions for capturing the meteor shower are clear skies with low light pollution, unfortunately this year we will have a Waning Gibbeous Moon to contend with, which may make conditions less than idea. Your best chance at seeing the 2017 Perseid Meteor Shower is to find an area well away from brightly lit areas such as towns and low activity in the atmosphere from winds and moisture.
The meteor shower will be most intense in the constellation of Perseus which you can find using the Star Walk App. We've also updated this guide to include more Meteor Shower Photography Tips, along with sample images and more.
Camera Gear for Photographing Meteor Showers
There are a few basic pieces of equipment you'll need before you start photographing the 2017 Perseid Meteor Shower. You can achieve very good results with minimal equipment when used in the right way, so here are just our suggestions to get the absolute best:
- Digital SLR camera or one with manual functions. You can shoot the night sky with almost any camera as long as you can control the ISO, exposure, focus, and aperture. A digital SLR or mirrorless camera will be ideal for this as you can also select the lens you wish to use, but a bridge camera with manual settings, and even some premium compact cameras will also do. We have included some advice on choosing the right camera later in this article.
- A sturdy tripod. This is absolutely essential for photographing meteor showers - you won't be able to achieve sharp images with the blurred effect of a meteor unless your camera is on a firm surface, and the best way to achieve that is with a tripod.
- Shutter release cable or shutter delay timer. If you touch the camera at any point to take a shot, you will move it, even if it's ever so slightly. So in order to achieve a sharp image with no camera shake, you either need to set a shutter delay (or self timer) so the camera settles between you pressing the shutter button and the shutter going off, or use a cable release or remote release which will allow you fire the shutter without directly touching the camera. Some of the latest cameras will also allow you to use your smartphone or tablet to control the camera as a remote. You may want to invest in a Power Bank if you're going this route.
Trial & Error
Trial and error is the key to achieving optimal results when photographing meteors in the night sky like the Perseid Meteor Shower on 12th August 2017. Try these camera settings to begin with:
- Start with a wide or normal focal length lens and focus it to infinity
- Set your exposure to around 20 seconds
- Set your aperture to f/2.8 (or the widest your lens can achieve if less)
- Take a shot and see how it looks in preview
- Adjust your settings in order to achieve the effect you're looking for
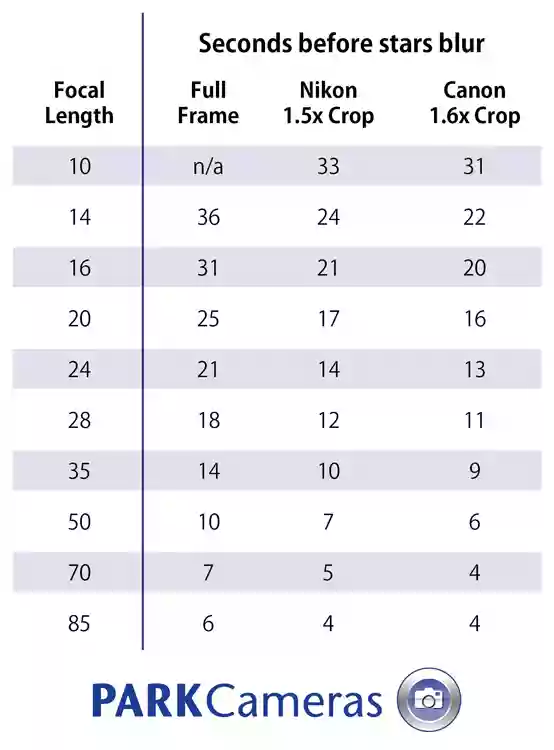
However, it's important to remember that you don't want to expose the image for too long. This is because the rotation of the earth will mean that the stars in your image will begin to blur after a certain length of time.
Add Something to the Foreground
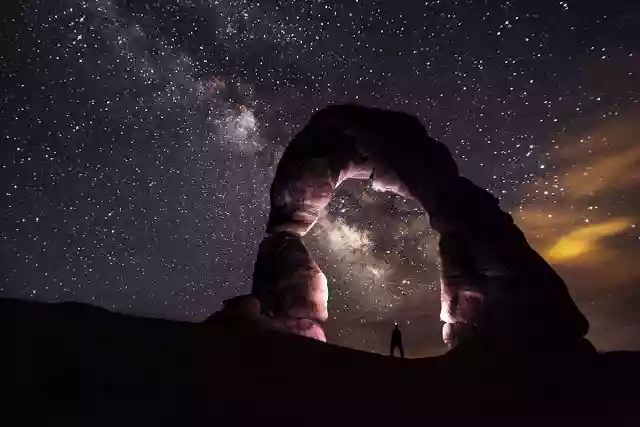
Sometimes, photos of the night sky can look a bit lost without a terrestrial reference point to give the stars some kind of dimension. Try positioning your camera with a building, some trees, a car, or some landscape in the foreground and allow this to 'burn in' to your image - this will add an element of interest.
Trial and error is again key here, so don't be afraid to move your camera around and try new and different angles and focal lengths until you achieve an image you're happy with.
Useful Night Sky Photography Advice
You could also use the intervalometer function of your camera (if it has this feature) to take a series of exposures one after the other which will then give you lots of images to choose from and the best chance of capturing more meteors. You could then combine these images to produce star trails and multiple images of meteors using a software package such as StarStaX (available as a free download here).
If you are going to spend sometime outside then it is worthwhile allowing your eyes to adjust to the darkness - this takes around 20 minutes and you should avoid all white light during this time as this will reset your night vision and you will have to wait 20 minutes again!
A Sun lounger or deckchair would also be useful allowing you to view the sky without straining your neck!
Suggested Cameras for Astophotography
Micro Four Thirds Cameras
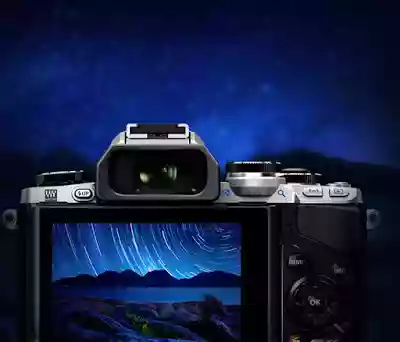
Some Olympus models (including the E-M5, E-M5 II, E-M1 Mark II and E-M10 Mark II) offer a live-timer mode which takes the guesswork out of long exposures by allowing you to open the shutter and then review the image as it builds up on the rear screen of the camera or remotely using a smart phone or tablet computer.
When you are happy with the image captured just end the exposure and the image will be saved. To find this feature go to the 'gears' menu, select the Exposure (EXP) setting, go to page two, and select Live Time, you will see the option for how quickly you want the display to update during the exposure - the default is 0.5 seconds but you can alter this all the way up to every 60 seconds if you are doing a very long exposure.
So, to capture the meteor shower is relatively straightforward to do with conventional cameras and requires no expensive extra equipment.
It goes without saying (but we will say it) a very sturdy tripod is essential to prevent any wind movement - you can weigh your tripod down with weights or a camera bag to increase stability. A lens hood will also be very helpful in cutting out any extraneous light and preventing dew forming on you lens.
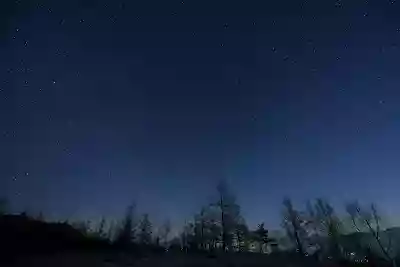
In-Camera noise reduction for long exposures can also be useful as this exposes a blank frame (usually after the main exposure) which records any noise present and then deducts this from your final image.
Mirrorless Cameras
Advances in camera technology have provided us with models with ultra-high sensitivity and low noise. Noise is the arch enemy of the astrophotographer so select a camera model which has excellent low light capabilities - such as the Sony A7s or Sony A7S II which is a model specifically targeted at low light work.
The Sony A7s features a 12.2MP Full-Frame imaging sensor with truly phenomenal sensitivity with ISO settings up to 409,600 available, combined with a high-speed BIONZ X processing engine for rich tonal gradations and low noise. The A7s is also easy to use with a huge range of lenses from both Sony and via adapters virtually any lens produced can be fitted.
Additionally, the Sony A6000 is extremely compact especially considering it houses a 24MP APS-C sensor with an ISO range of 100-25,600
Versatile Bridge Cameras
A really good bridge camera for this type of work (or anything else) is the Panasonic FZ2000 or the Leica V-LUX typ 114. Both offer a great lens range of 25-400mm equivalent with fast aperture, and a large (for a compact camera) 1" 20mp sensor.
Entry-Level Digital SLR Cameras
As a starter DSLR, the Nikon D3400 takes a lot of beating as it has excellent high-ISO performance combined with excellent levels of detail from its 24.2 megapixel APS-C sensor.
The Canon EOS 750D also offers very good low light performance and gives you access to the full EOS range of lenses as well as a 24.2 megapixel APS-C sensor and Wi-Fi capabilities.
Professional Digital SLR
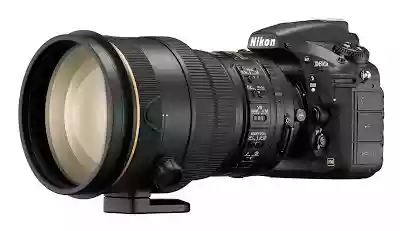
For the committed Astrophotographer Nikon produce a model specifically designed for the job - the Nikon D810A. This model has been specifically designed with a special Infra Red cut filter for long-exposure deep-sky astrophotography. Based on the award winning D810 the D810A records the brilliant red tones of H-Alpha emission nebulae with fantastic levels of detail and sharpness and 4x better contrast than a conventional model. With a superb dynamic range and rich tonality the D810A can produce noise-free results up to ISO 12,800 with exposures up to 15 minutes long. ISO expansion up to 51,200 is also available allowing short exposure times of the faintest objects. The D810A also has a long-exposure manual mode allowing you to set exposure times of 4, 5, 8, 10, 15, 20, 30, 60, 120, 240, 300, 600 and 900 seconds in addition to bulb and time modes.
The D810A can also take advantage of the astrophototography noise reduction feature in Nikon Capture NX-2 software which will reduce the noise in photographs of stars and constellations without wiping out the pinpoint stars you are trying to capture.
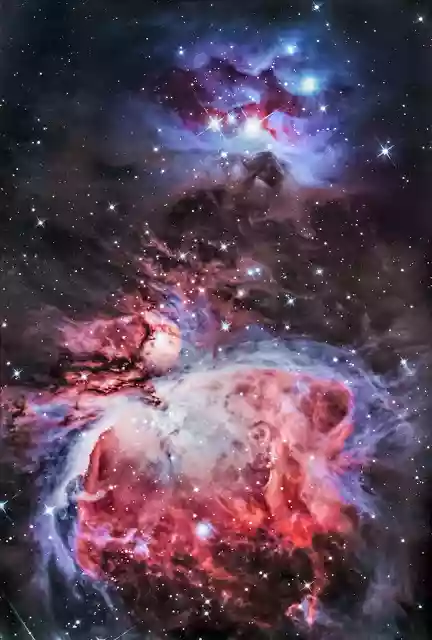
If you like shooing at Night or Low Light, and want more photo advice, purchase the Night & Low Light Photography guide which not only features tips and tricks, but also includes a pull-out quick reference guide to assist you.
If you have any questions about how to photograph the night sky, please write in the comments box below and we’ll do our best to answer them for you.
Share this post:
By Park Cameras on 07/08/2017
Trade in your old equipment
Fast and easy trade in service ensures your old gear is collected efficiently and you are paid quickly! It's very simple to trade in your unwanted photography gear. Just head over to our dedicated Sell or Part Exchange page, fill out the details, and we'll get back to you with an offer for your old gear. Take the cash, or put it towards the cost of your new gear. It's up to you! Find out more
sign up to the newsletter
Keep up to date on the latest photography news, events and offers. Sign up now
