- Call us: 01444 237070
- Contact Us
- Stores
- Sign In / Register
-
- Back
- Used Cameras
- Used Lenses
- Used Video
- Used Film Equipment
- Used Stock Alert
- Used Accessories
- Recently Added Used Equipment
- Used Clearance
- Faulty
- Park Picks
- Sell or Part Exchange
- Trade-In
- Blog
- New in
- Call us
- Contact us
- Stores
- Sign in
- Categories
- Tips & Inspiration
- Reviews
- News
- Events
- Features
- Buying Guides
- Competitions
How to shoot neon portraits with Jason Lanier
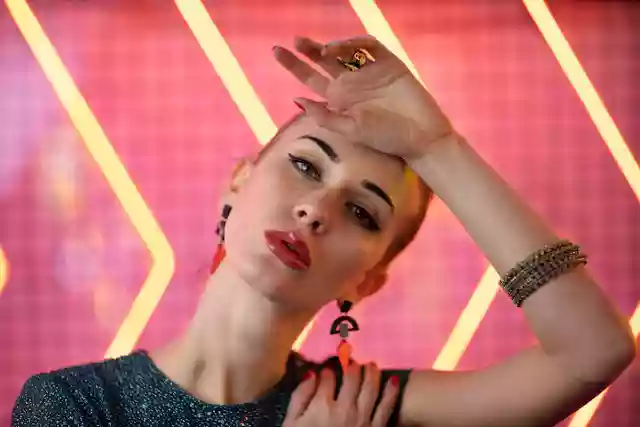
Shooting portraits with neon lights can lend a fantastical, futuristic feel to your portrait photography. Park Cameras teamed up with Rotolight, and their 'Master of Light' Jason Lanier in our neon fantasia workshop held at The Blitz Factory.
We love attending these workshops, as they offer an exclusive chance to see professionals in action, as well as getting advice from the best in the business. Here are our tips on how to achieve great neon portraits, including looking at what settings are best for neon photography.
Understand ambient light
“To be a great artificial light photographer you have to be a great natural light photographer.”
To kick things off, Jason Lanier started with perhaps the most important lesson for all photographers - understanding the light you are working with.
Start by considering what type of light you will be shooting with - natural, strobe, led, modified or blended - all offer their own unique challenges and opportunities.
The ability to assess your surroundings before you start shooting is key. Jason emphasised how the first thing he will do before starting any shoot is to take in the surroundings.
Choose your neon background
e were lucky to shoot at the incredible 'The Blitz Factory', the younger sibling of ‘God’s own junkyard’, a neon filled paradise in Walthamstow, London. With oddball neon signs everywhere you look, it’s tempting to photograph everything. Being selective with your backgrounds makes you focus on quality over quantity.
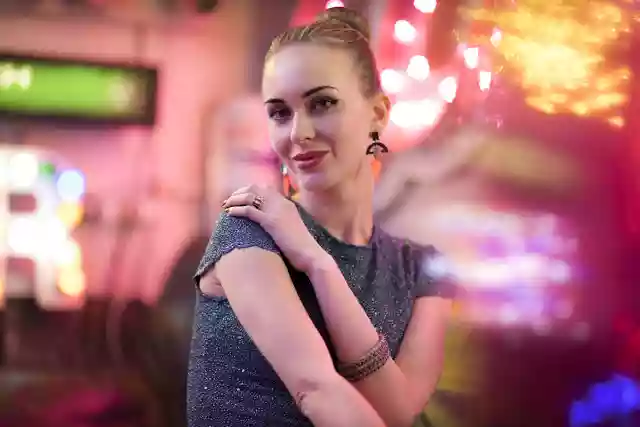
The shot below is a great example -we were really happy with the foreground bokeh, achieved by having Alena lean against a giant pink mirrorball - it separated her from the background. However - that green exit sign in the background ruins the colour scheme, so wouldn’t make the final cut.
Focus your shoot by considering these following points:
- Where do I want to light?
- Where do I not want to light?
- What mood am I looking for?
- Am I accomplishing my vision?
Realise your vision
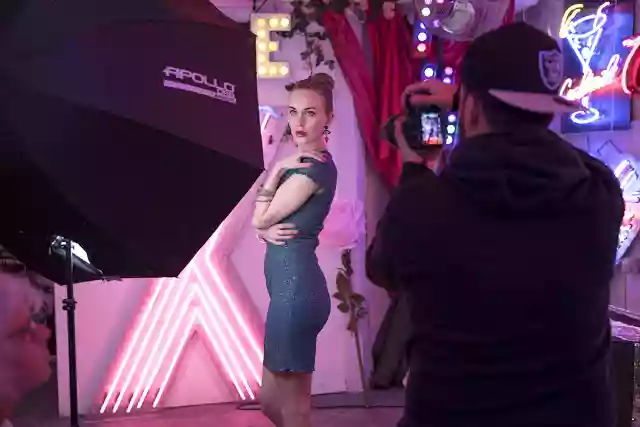
When Jason was talking us through some of his shots in his (epic) portfolio, there is a distinct cinematic feel to his final images. A lot of this comes down to isolating the artificial light on the subject, balanced with well exposed ambient light for the surroundings. By using modifiers (barn doors on the AEOS and a honeycomb grid), we were able to reduce light spill on wider portraits.
Light spilling onto the floor can detract if you are trying to isolate your subject in a full length portrait. Correcting details such as this means that you can modify the light before you start shooting. This has the added benefit of giving your model some downtime, so you can focus on a speedy and engaging shoot.
Pairing your model with the right background is important when it comes to neon photography - matching clothes can help build a cohesive colour scheme, while sunglasses are a great accessory for neon portraits, as you can pick up details in the reflections.
Watch our neon photography tutorial with Jason Lanier
Focus on skin tones
Start by considering your white balance. When shooting with neon backgrounds it’s easy to get carried away with composition and place your models too close to the signage. This can lead to strong colour casts on the face. Carefully considering where you place the model can help cut this out.
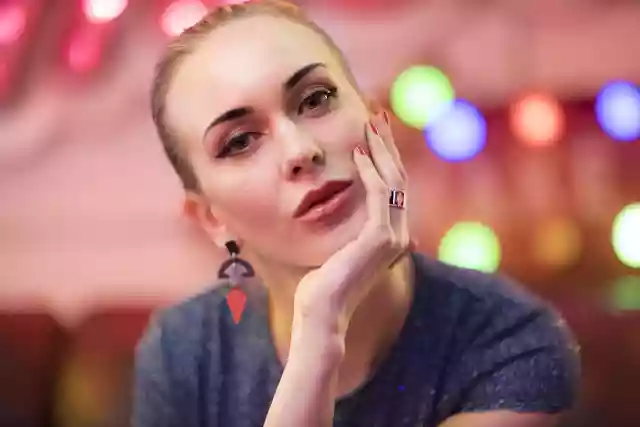
Another way to combat this is to play with the colour temperature of the modelling light. All of the Rotolights (NEO 2, AEOS & ANOVA Pro2) allow this to be easily adjusted with a twist of the dial, with a clear display showing the Kelvin on the rear screen. Great for adding warmth, or indeed cooling the temperature, depending on the situation.
This works particularly well with mirrorless cameras as you can see the results in real time.
Read our blog on why the Rotolight LED system is the perfect parter for your mirrorless camera.
How to balance exposure for neon portraits
Start by measuring your ambient exposure - this should give you the aperture and shutter settings that you then should stick to.
To control the strength of the key light falling on the model's face, simply adjust the exposure or strength settings on your light, or alternatively move the lights in or away from your subject. LED's allow you to get close to your subject without overexposing - the diffused light from a high number of small bulbs helps in this scenario.
A good gauge to getting your exposure right on the key light is to go as bright as you can without making your model squint. The human eye is an incredibly complex aperture in itself, and if it’s too bright not only will your model neither look or feel comfortable (which will translate into your final image), but also chances are you'll be over-exposing her face.
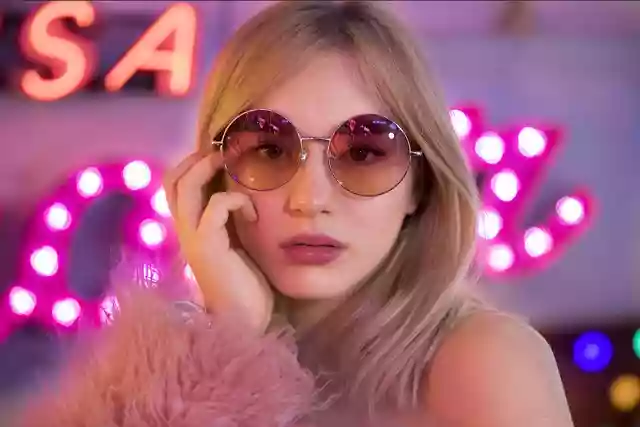
Separate your model from the background
To separate your model from the background you need to consider distance, focal length and aperture to get the right depth of field.
We were shooting on a Canon EOS R with the Canon EF 85mm f/1.2 lens, chosen specifically to achieve neon drenched, bokeh filled backgrounds. The focal range of 85mm is great for adding compression - helping to make your subject pop from the background.
When shooting with neon signs as backdrops, vary how close your subject is to the actual background depending on the type of shot you want. For a close crop portrait, a little distance helps achieve a lovely bokeh effect. If you don’t have an off-camera light, you may want them closer to the light source, but watch out for strong colour casts from the neon. This applies if you are shooting in the street, for example against a shop window.
Best Settings for Bokeh
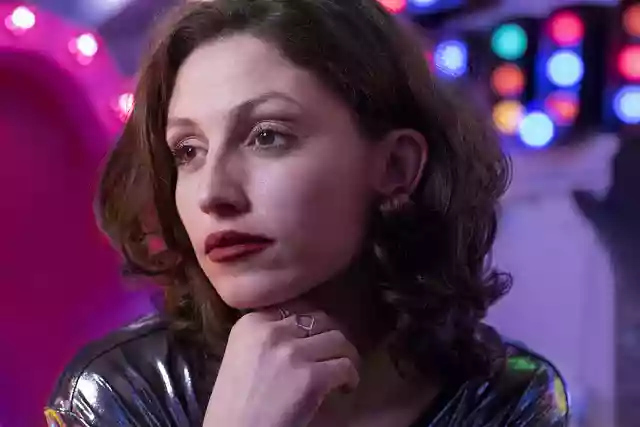
And of course, the final ingredient is choosing your aperture. Consider the picture below; we were really happy with the engagement and composition, but shot at f/5.6 the whole scene feels busy as the background is not separated enough.
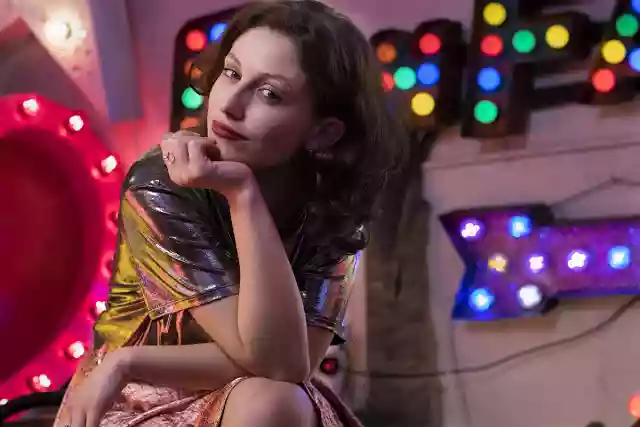
Most of the other shots in this blog were shot at f/1.4, giving the de-focused bokeh effect we were looking for.
Neon photography settings summarised:
- Understand your ambient light
- Know what you want to achieve before you start shooting
- Select your background, avoiding clutter
- Consider skin tones and white balance
- Balance your exposure
- Shoot wide and add compression for great bokeh
Images by Ashley Laurence
A massive thank you to the Rotolight team, and of course Jason Lanier, for working with us to put on this amazing event. You can book on to similar events on our Park Cameras' events page.
See more of Jason's amazing photography on his website.
You may also like:
Discover why LED lights are perfect for mirrorless cameras
Canon EOS R launch - a neon-lit spectacle
Rotolight location kit - we test the kit with a bunch of musicians in Brighton
Share this post:
By Park Cameras on 05/04/2019
Trade in your old equipment
Fast and easy trade in service ensures your old gear is collected efficiently and you are paid quickly! It's very simple to trade in your unwanted photography gear. Just head over to our dedicated Sell or Part Exchange page, fill out the details, and we'll get back to you with an offer for your old gear. Take the cash, or put it towards the cost of your new gear. It's up to you! Find out more
sign up to the newsletter
Keep up to date on the latest photography news, events and offers. Sign up now
